
Table of Contents
As a dedicated cyclist, I’ve always prioritized safety as the first rule of thumb on the road, and the most fundamental part of safety is undoubtedly a properly fitting bicycle helmet. It’s a common misconception that helmet adjustment is complicated due to the unique design and shape of bicycle helmets, but with the right guidance, this task can be simple and straightforward.
Indeed, the correct adjustment of your bicycle helmet strap can make a world of difference in both comfort and safety. So, let me take you on a step-by-step journey to adjust your bicycle helmet straps correctly and give you the peace of mind you need for your next cycling adventure.
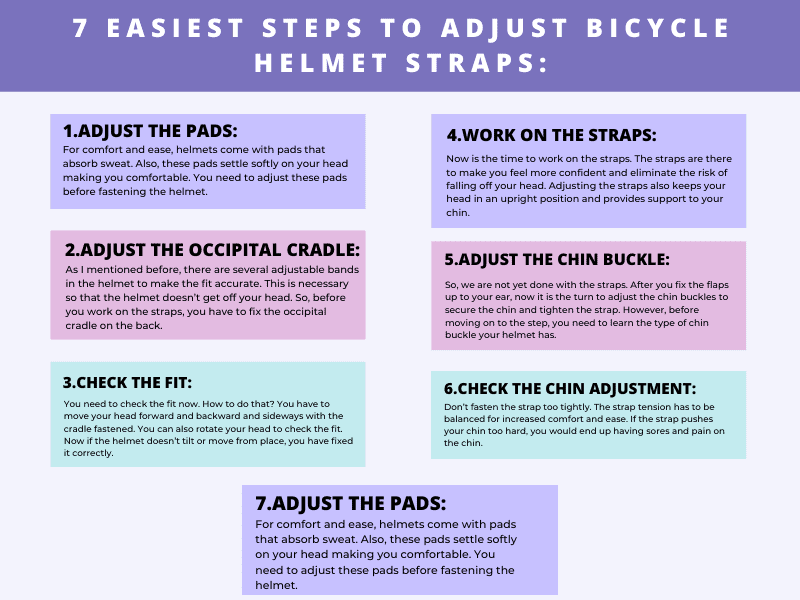
The Seven-Step Guide to Perfect Helmet Strap Adjustment:
Bicycle helmets, unlike their motorcycle counterparts, require precise adjustment due to their open-front and back design. They feature adjustable straps designed for the perfect fit, and I’m here to guide you on how to manipulate these elements effectively.
Step 1: Pad Adjustment for Optimal Comfort
Bicycle helmets are equipped with sweat-absorbing pads that provide comfort and ease during your rides. Before tackling the helmet straps, you’ll need to adjust these pads according to your comfort. Many helmets come with extra pads that you can place wherever you feel necessary.
The convenience of velcro tabs allows you to affix them easily. Once soiled, you can wash them and reposition them, completing your first step of adjustment.
Step 2: Focusing on the Occipital Cradle:
Next, we need to focus on the occipital cradle located at the back of the helmet. This part plays a vital role in ensuring the helmet stays securely on your head, preventing any looseness or tilting. Utilize the radial dial and two ratcheting buttons to fix the cradle according to your comfort.
This adjustment will form the foundation of how well your helmet fits and contributes significantly to your overall comfort.
Step 3: Verifying the Fit
Now it’s time to check the fit. With the fastened cradle, move your head in different directions. If the helmet stays secure without any dislocation, it means you’ve achieved the correct fit. If it loosens, readjust the cradle to ensure stability.
Step 4: Strap Adjustment
Now, let’s delve into strap adjustment. The chin strap plays a significant role in providing additional security, keeping your head in an upright position, and offering support to your chin.
Once you unlock the chin strap flaps, adjust them such that they sit snugly below your earlobe. Equal adjustment on both sides ensures a perfect and comfortable fit.
Step 5: Fine-Tuning the Chin Buckle
The chin buckle adjustment is essential in securing the chin and tightening the strap. However, this process can vary depending on the type of chin buckle your helmet features, which can be a magnetic clip, two-part snap-lock, or a ratcheting plastic buckle.
After you’ve locked the buckle, adjust the strap until the buckle gently touches your chin.
Step 6: Verifying the Chin Strap Adjustment
The key to a comfortable strap adjustment is balanced tension. Overly tight straps can lead to sores and discomfort, while excessively loose ones may compromise safety.
An easy way to check for the correct fit is to place two fingers between the buckle and your chin. If you can do this without discomfort, you’ve achieved a perfect fit.
Step 7: Tidying Up the Loose Ends
The last step involves dealing with the extended straps from the buckle. These can be secured using the retaining buckle attached to the chin buckle, preventing any disturbances during your ride.
Ensuring the Right Strap Tension
Maintaining the right tension in your helmet straps is of utmost importance for both comfort and safety. Too tight, and the straps could chafe your skin or cause discomfort. Too loose, and your helmet won’t provide the protection it’s designed to offer.
- Check the V-Strap: Your helmet straps should form a ‘V’ shape around your ears, with the point of the ‘V’ just below your earlobe. This ensures that the helmet is held securely on your head and won’t move around while you’re riding.
- Use the Two-Finger Rule: Once you’ve adjusted your helmet straps, use the two-finger rule to check the tension. If you can comfortably fit two fingers between your chin and the strap, then the tension is just right.
- Do a Shake Test: Shake your head side-to-side and up and down. If the helmet moves independently of your head or can easily be tipped off, the straps are too loose and need to be adjusted.
- Check for Comfort: Lastly, ensure that the straps are comfortable and aren’t digging into your skin or causing any irritation. It’s worth spending a little extra time on this step, as uncomfortable straps can distract you while riding.
The correct strap tension ensures that your helmet remains secure on your head while still being comfortable to wear. If you’ve followed all these steps, your helmet should be well-adjusted and ready for your next ride.
But remember, helmet fit can change over time due to wear and tear or changes in your hairstyle, so it’s a good idea to regularly check and adjust your helmet straps as needed.
Conclusion
Your safety while cycling largely depends on the proper fit of your helmet. By adjusting the pads, occipital cradle, and straps correctly, you can ensure that your helmet is both comfortable and secure. These adjustments may seem minor, but they can make a significant difference in your cycling experience.
So, before you hop on your bicycle for the next adventure, spend a few minutes ensuring that your helmet is correctly fitted and adjusted. You’ll be glad you did!